Basic Vegan Sponge Cake
Whatever cake you are making, a basic sponge cake is the likely place to start. This is so easy to whip up in no time at all. You can alter the flavouring or even add some icing. Just let your imagination run wild!
Notes
- Sub 30 g of flour for cocoa powder and forgo the vanilla essence to make it chocolate.
- Use scales to weigh out the oil and water because jug measurements can be way out.
- I used a skewer as a cake tester.
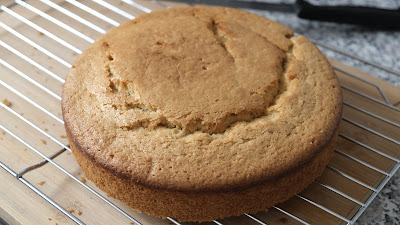
- Yes, you can flatten out the doming or cut it off if you please.
- You can use, as extra, some bicarbonate of soda for extra lift; however, if you do, add a spoonful of vinegar either white or cider or white wine vinegar. The acidity reacts with the bicarbonate of soda.
Servers, 12 – 14
Time, 50 minutes for cake with an extra 15 minutes to make the frosting.
Ingredients
Wet ingredients
- 90 ml vegetable oil, or sunflower oil
- 1 tsp vanilla extract
- 190 ml tepid water
Dry ingredients
- 280 g self-raising flour
- 150 g caster sugar
- 1 tsp baking powder
- ¼ tsp salt
Apparatus
- 19 cm diameter cake tin
- Large mixing bowl
- Balloon whisk
- Spatula
Method
Preheat the oven to 165 °C fan or 180 °C.
Add all the dry ingredients to a large mixing bowl and mix with a balloon whisk.
Mix all the wet ingredients in a jug and poor in to the mixing bowl a little at a time.
Don't over mix or it will become too hard; just mix it rather than beating it.
Poor the batter into the cake tin that is either greased or lined with tin liner.
Bake on the lower middle shelf of the oven for 35–40 minutes at 165 °C fan assisted.
After baking, test with a cake tester. Poke the cake tester in the middle of the cake if the cake tester comes out clean, it is done.
Leave in the tin for a few minutes. This will make it easier to remove from the tin because it will shrink a little.
Leave to completely cool on a cooling rack.
Decorate it how you please.
Results
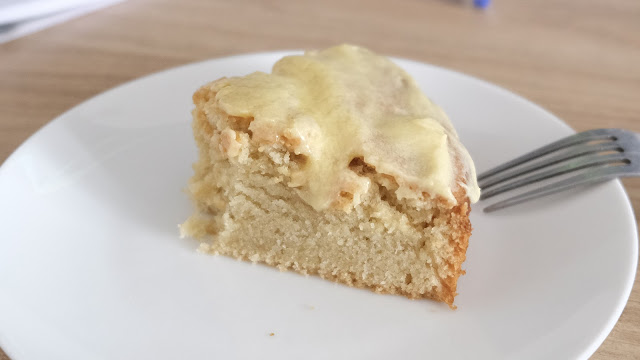
The first attempt. I decorated mine with some simple butter icing. Yum! I know, it is not very pretty, but you can go wild if you want. I just like something simple sometimes.


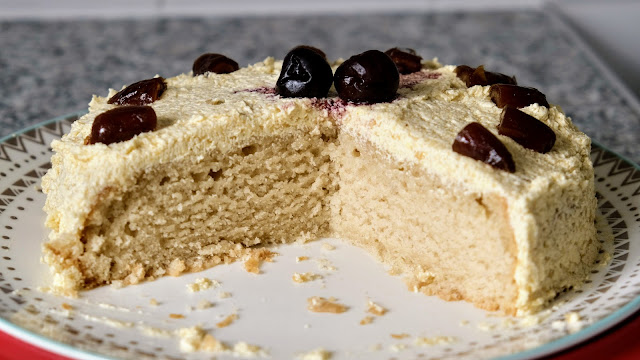
The second attempt came out just as good as the first, but this time I decorated it a little more. First, I coated it in cashew cream butter frosting and then I added some cherries and dates.
How will you decorate yours?
I really hope you enjoyed this blog and I hope you give this recipe a try. As always, please let me know how you got on with it. Did you like it? Did you change it in some way? Let me know.


Comments
Post a Comment